Mailchimp Payment Links


Shane Rogers / February 02, 2021
6 min read

Email remains a leading revenue generating channel for most businesses, but theres often a lot of friction which it comes to monetizing engagement. Think about all of the interactions it takes for a customer to actually make a purchase when they see an offer in an email. A customer's journey after they've decided to buy, is often full of high friction steps like:
- initial offer click and redirect from email
- finding the offer on the landing page
- clicking to buy
- logging in / signing up
- filling out a long checkout form
- entering payment details
Removing as much friction as possible from the purchasing flow can help drive higher revenue, and thats where payment links come in.
Payment links are a one click checkout solution you can use to sell directly within email, with no special integration necessary. In this post we'll review how payment links can be used in any Mailchimp email campaign, to help you get a higher ROI from your email marketing.
Payment link use cases
Not all of your email campaigns will be sales related, but for the ones that are, a low friction payment link can help you close more sales for use cases such as:
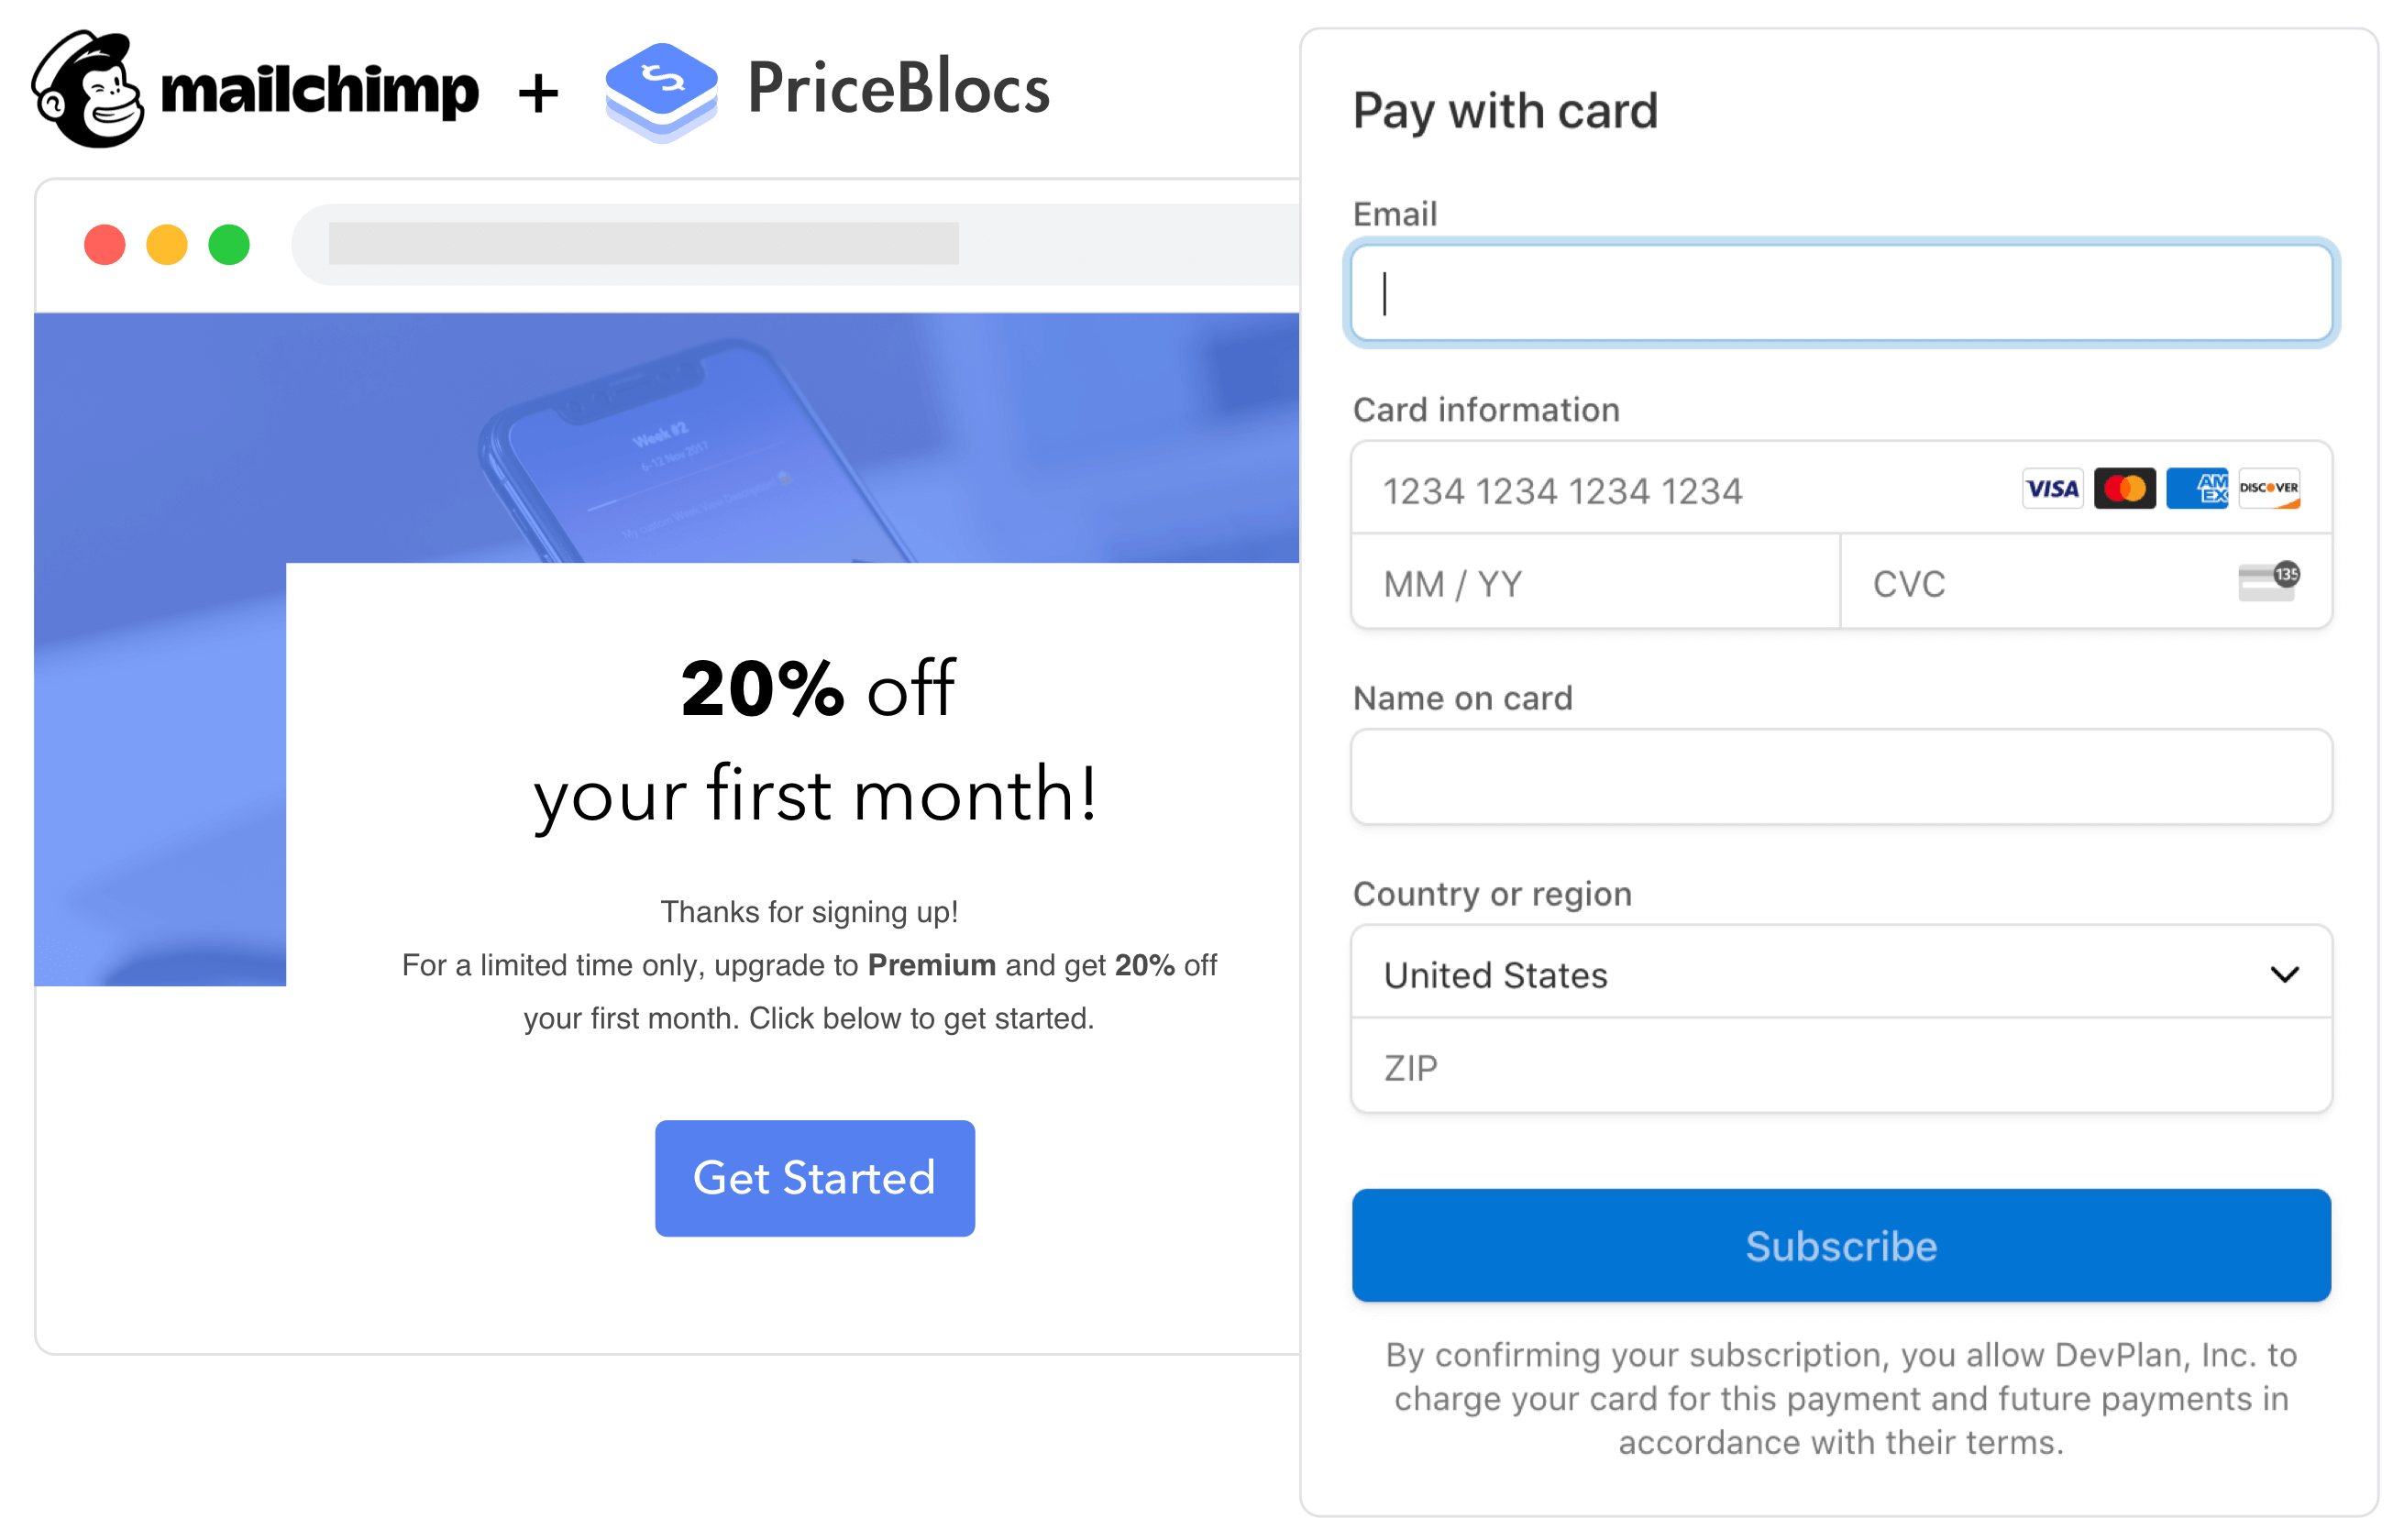
- Upgrade emails with an incentive - 1st month free
- New product launch - early bird pricing
- Seasonal sales - one time discounts and promotions
- Clearance sales for multiple products
Mailchimp Payment Links
There are 3 main ways to use payment links with Mailchimp, from simple links to merge tags, we'll outline them below:
- Simple link - use a payment link in an email CTA
- Default merge tags - Associate the link to a specific email
- Custom merge tags - Associate the link to a specific customer id
Simple link
To get started with selling your products using payment links, you’ll need to create one. If you haven’t signed up yet you can do that here, but if you’re still exploring you can build a test link using the demo builder here.

Test links allow you to simulate a real checkout while using test payment details. This allows you to really experience the payment link checkout flow without using a real credit card.
-- Test payment details to use --cc: 4242 4242 4242 4242cvc: 123mm/yy: any future date
A test link will look something like this.
https://priceblocs.com/test/links/_bLNfgxub3XDMr-y-thdR
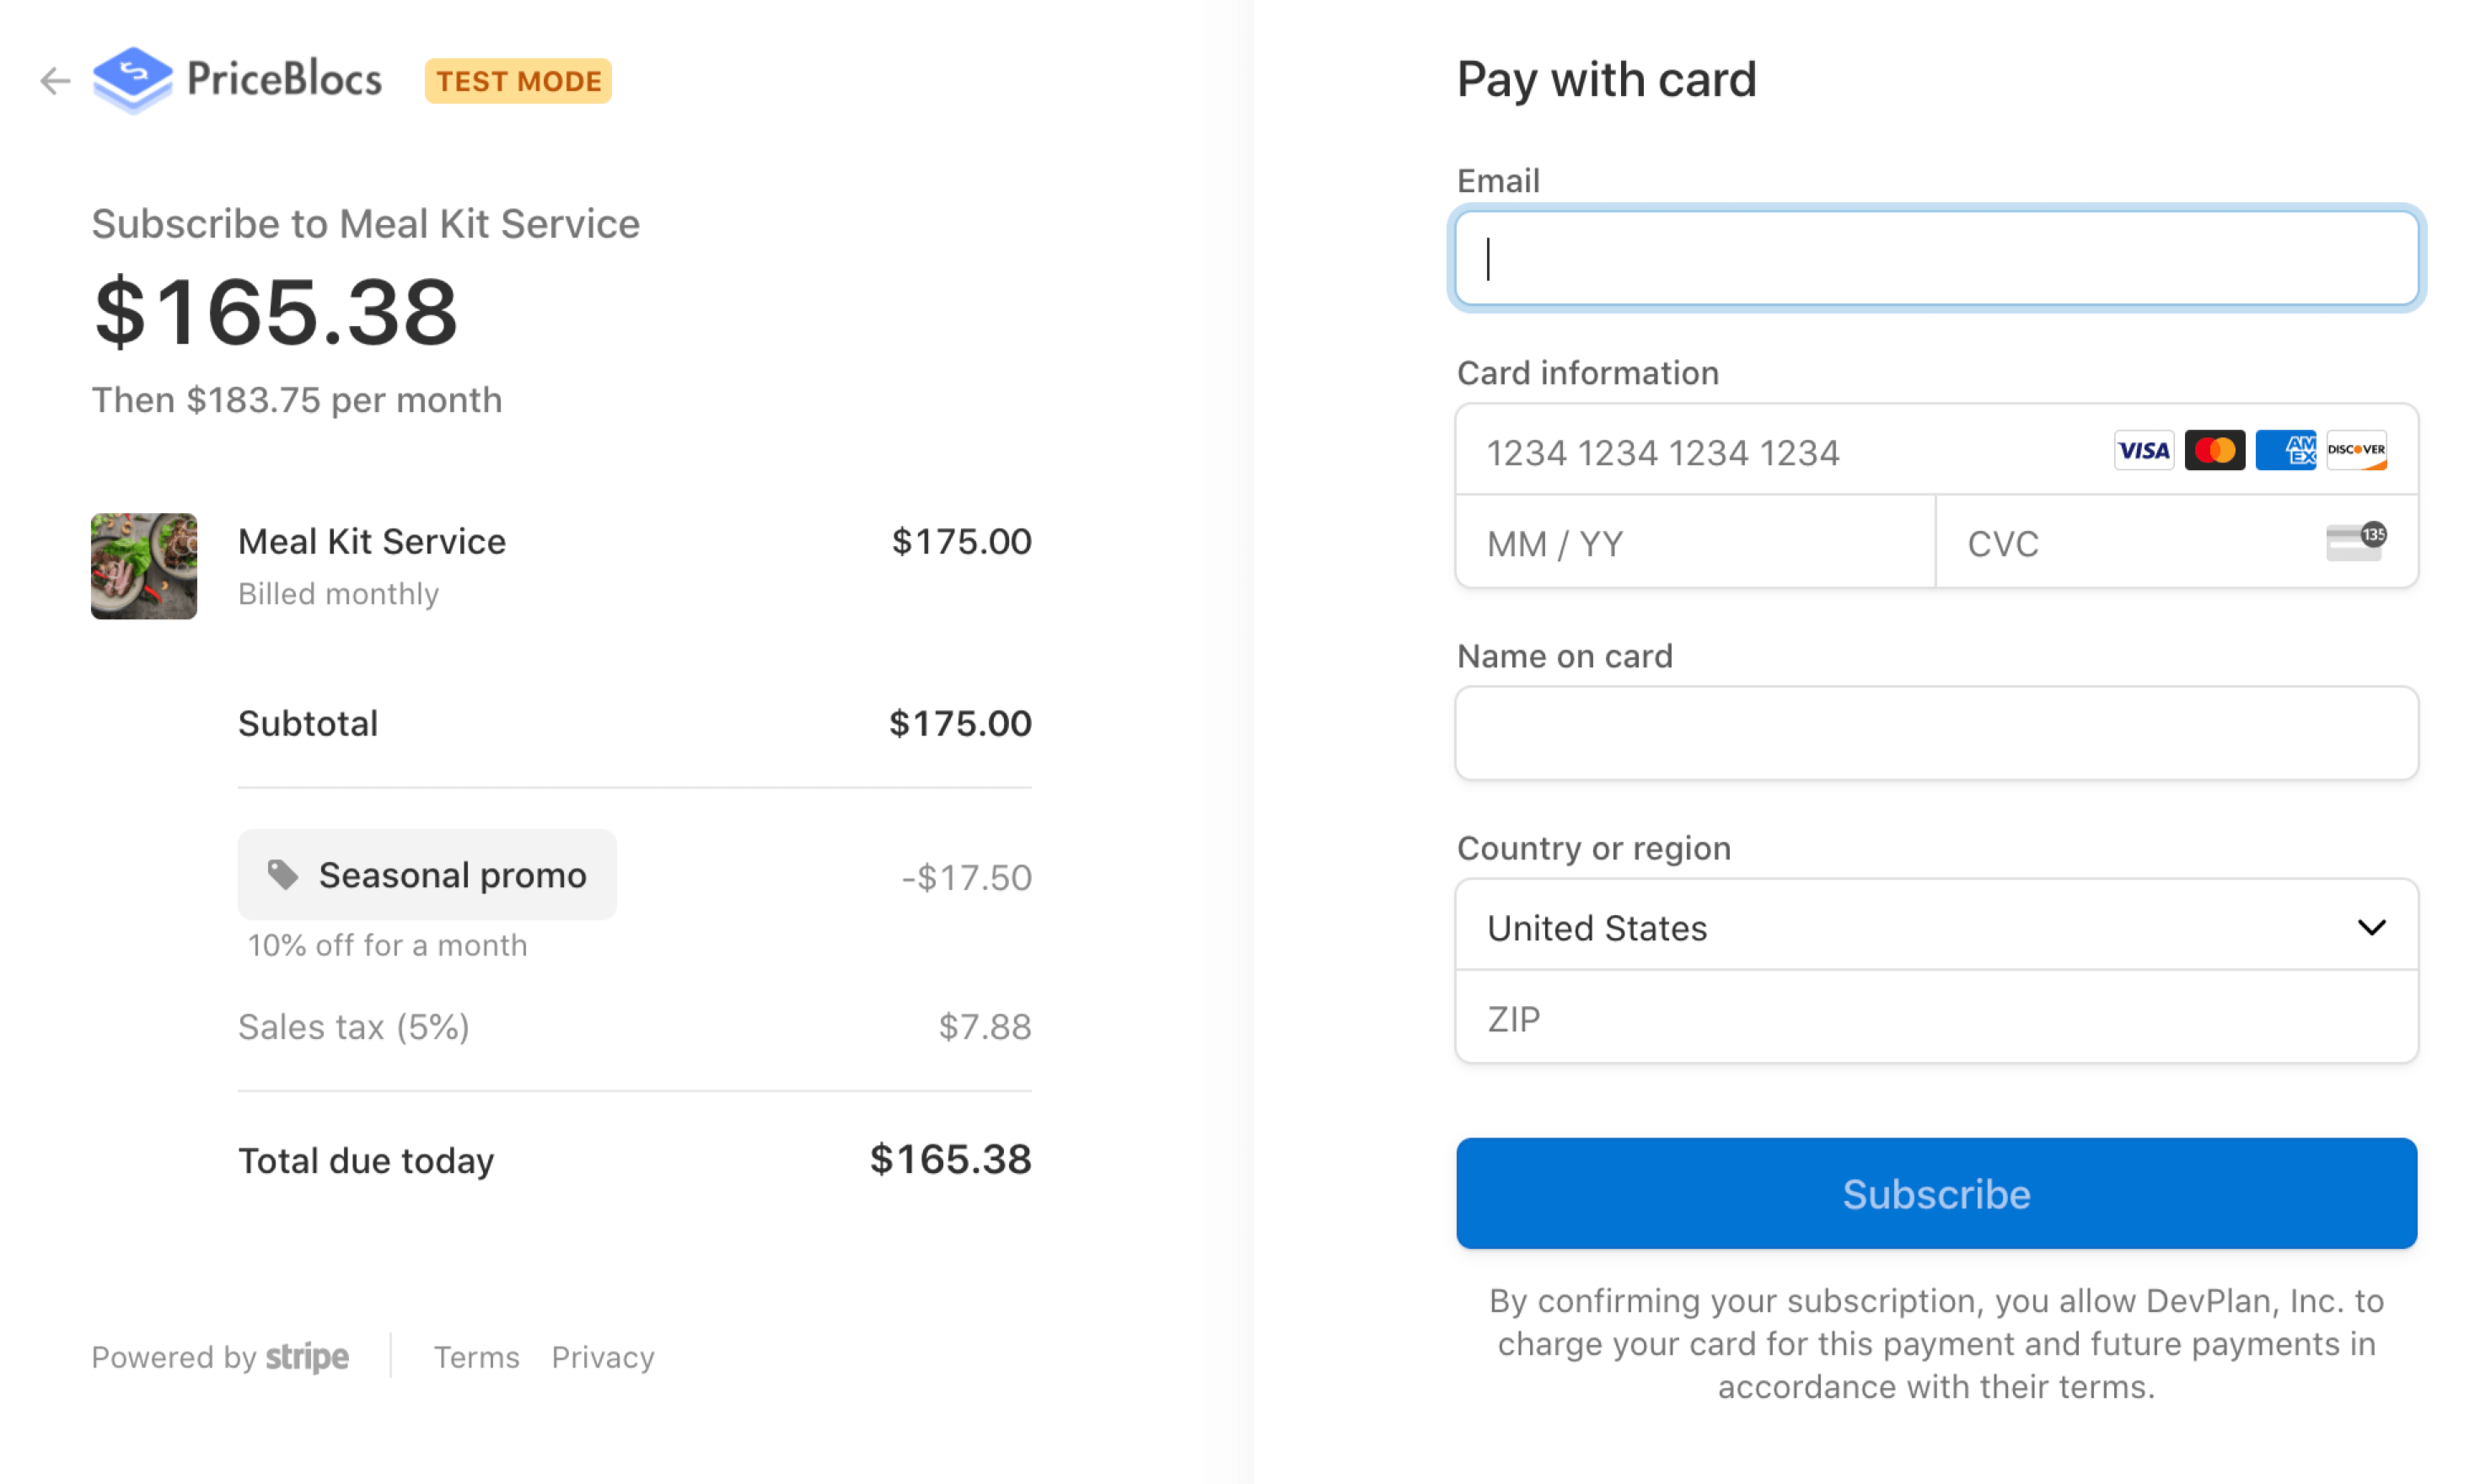
When clicked, each link will create a secure hosted checkout page which:
- Accepts all major card providers including Apple Pay and Google Pay
- Is mobile optimized, PCI compliant and SCA ready
- Is localized to the browsers language
Once you have a link, you’re ready to add it to any CTA within a Mailchimp email template following these steps:
- (1) Login to Mailchimp
- (2) Go to create a campaign and pick email
- (3) Give your email campaign a name
- (4) Select Design Email
- (5) Pick the Sell Products template
- (6) Click on the blue CTA and update its settings to be:
- (6a) Link to: Web address
- (6b) Web address: your PriceBlocs payment link
Here's a visual guide of those steps:
(2) Create a campaign

(3) Give your email campaign a name

(4) Select to Design Email

(5) Pick the Sell Products template

- Click on the blue CTA and update its settings to be:

That’s it!
Let's test it
You can sending yourself a test email by using the dropdown menu in the top right hand corner. Click on:
- Preview, then
- Send a test email
- Add your own email

- You'll receive an email with the template you've just designed, which includes the CTA with your payment link.
Adding personalization
Now what if we want to personalize the checkout to the receiver? We can use query string params to personalize any payment link so that the receiver:
- Won’t have to enter their email
- And the sale will be automatically attributed to them
https://priceblocs.com/test/links/_bLNfgxub3XDMr-y-thdR?customer_email=shane@priceblocs.com
How do we do this for lots of receivers at once? That's where we can use Mailchimps special merge tags.
Default merge tags
If you’re familiar with Mailchimp, you’ll know all about how we can use merge tags to embed receiver specific information into a generic email template.
If not here’s a quick summary.
When bulk sending emails, we want to have the option to personalize some of the content (e.g. adding a receivers first name to the greeting in the email). Mailchimp’s mechanism for allowing personalization is through the use of merge tags. Merge tags are special notations we can make within an email to tell Mailchimp to replace them with the receivers corresponding value at send time. Some common merge tags, and their special syntax are listed below. Also, here’s a cheat sheet for reference, and a troubleshooting guide if you need it.
| Merge tag | Description |
|---|---|
| *|EMAIL|* | Receivers email |
| *|FNAME|* | Receivers first name |
| *|LNAME|* | Receivers last name |
Using the merge tag
Back in your template where you added the payment link url to the CTA web address input, update it to use the *|EMAIL|* merge tag, just like below:
https://priceblocs.com/test/links/_bLNfgxub3XDMr-y-thdR?customer_email=*|EMAIL|*

- Save the change
- Then send yourself another test email
- When you receive the email, and click on the link, you will see that the checkout starts with the receivers email prefilled
- Magic! ✨
Custom merge tags
If you’re already using Stripe for processing payments, your customers may have Stripe id you'd like to use instead of an email for attribution. This is useful when you are selling to a business rather than an individual. If you already have this customer id as a field on members of an audience within Mailchimp, then you can use the related merge tag as it appears in the audience settings.
Don't have this setup yet? Not to worry, this advanced use case will the subject of our follow up tutorial on advanced Mailchimp merge tags.
Review
In this post we took a look at how easy it is to accept payments directly from email, just by adding a payment link to any Mailchimp email campaign.
In the next post we'll review more advanced merge tag use cases as well as integrations with other email providers and channels like SMS, messenger and more!